
What Every Family Historian Should Know about Scanning Family Photos
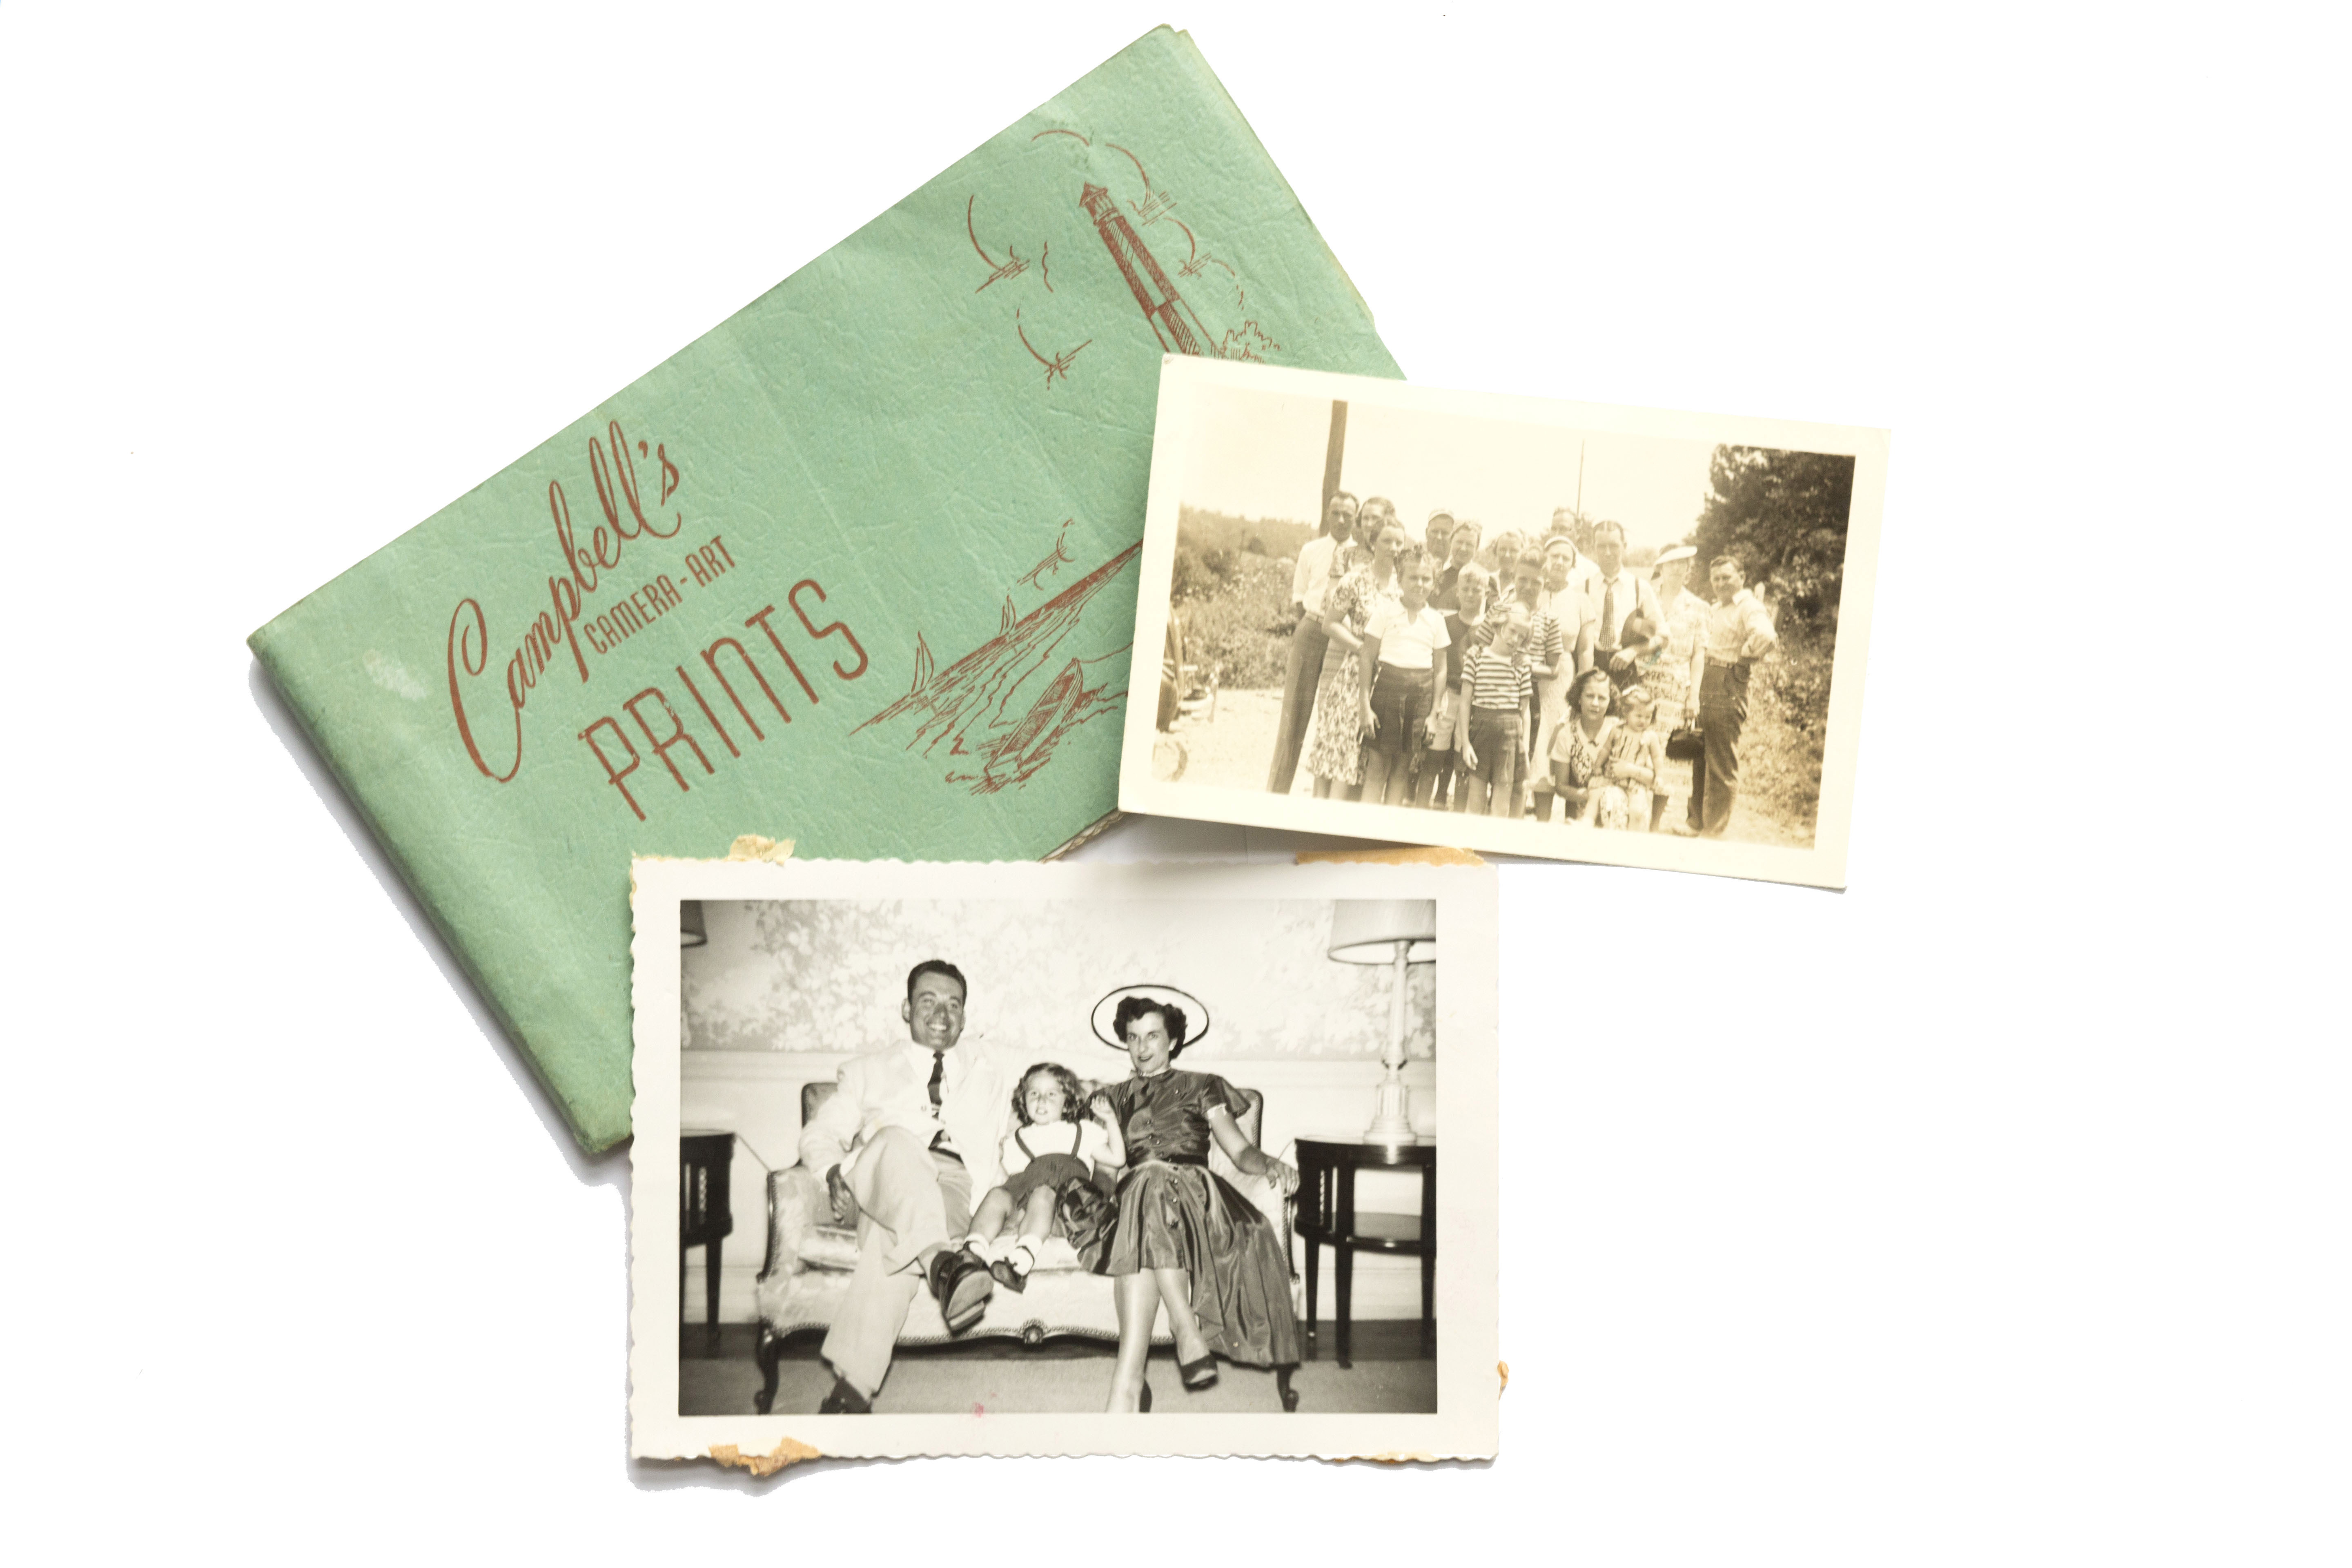
 You’ve been staring at the box for months. It’s starting to make you feel a bit guilty. You scoot it under your bed so it won’t stare at you every day. Then your mother calls and asks you about it.
“Have you had a chance to start scanning those family photos? The family reunion is coming up and it would be so nice to have a slideshow for everyone!”
So you finally commit to start scanning that box of family photos that’s been gathering dust for years. After all, it will be fun to discover perfectly embarrassing pictures from the 1970s and 80s for #TBT. And even if you don’t find gems of your parents wearing bell-bottoms, the truth is: saving family photos helps keeps your ancestry alive.
There’s no better time than NOW to digitize your analog family photographs. Future generations will thank you! But scanning can seem overwhelming and technical. Will you outsource scanning? Which company or service do you choose? Will you take a DIY approach? Then what scanner should you buy? How tech-savvy do you need to be to operate a scanner? These are just a few of the questions you may ask yourself as you begin your family photo scanning project. If you decide to take a DIY approach to scanning your family photos, one of the most important things you’ll need to understand is DPI.
Simply put, DPI stands for Stands for Dots Per Inch. DPI is used to measure the resolution of an image, both on computer monitors and in print. DPI measures how many dots fit into a linear inch. The higher the DPI, the more detail can be shown in an image.
Now that you know the definition of DPI, you can stop worrying about technology! Well, sort of. Let’s break it down even more so you’ll feel empowered to digitize your family archives. Below, you’ll learn what every family historian should know about scanning family photos.
How many DPI do I need?
When starting your family photo scanning project, one of the first questions you need to ask is: what resolution should I use? Resolution is measured by the number of Dots Per Inch (DPI) that the scanning system records as it digitizes a photo, negative or slide. When a scanner digitizes a photo, it uses a linear optical sensor that spans across the photo and records a measurement of the color (usually the levels of RGB – Red, Green, Blue) and brightness of the photo at a series of very closely spaced points, along a straight line starting at one edge of the photo.
So if you are scanning a photo at 300 dpi, the scanner is moving across the photo taking 300 readings for every inch it travels. The height of the portion of the photo it is scanning will also be 1/300 of an inch high. Each of those individual readings creates a single picture element, or “pixel.” And each pixel has a single value of brightness, and a single set of color values (RGB). The scanner will then move down 1/300 of an inch and measure across the photo again, measuring and recording data points 300 times per inch. When it has scanned the entire photo, you have an array of pixels. In this example, 300 per inch x 300 per inch – that make up the whole digital image.
The resolution of the scanning process determines the amount of detail in the image, which cannot be increased. When you enlarge a digital photo at successively higher magnifications, you will begin to see these individual pixels at some point, and the image will begin to appear “pixelated.”
Keep in mind, once a photo has been scanned at a given resolution, there is no way to increase the amount of detail in the image. In other words, once your family photo is scanned, you can’t go back and increase the pixel count. And that’s exactly why resolution should be chosen before a photo is scanned.
Here’s how to decide what resolution you should use when scanning your family photos:
- Consider how the final, scanned photo will be used and viewed. If the photo is only going to be printed or viewed at its original size, or slightly larger, then a resolution as low as 100-200 dpi might be sufficient.
- If you want to enlarge the photo – on a computer monitor, or perhaps by printing the photo two to three times larger than the original – then a higher resolution (at least 300 dpi) is needed.
- If you want to enlarge the photo more than three times its original size, or if you’re restoring it using software like Adobe Photoshop, then an even higher resolution (at least 600 dpi) should be used.
- In our photo scanning projects, we offer two different resolutions: 300 dpi and 600 dpi. For almost all purposes, the 300 dpi is a safe choice, and the most economical.
- Below are some samples of a scanned photograph to illustrate the difference between scans at the two resolutions. The original photo, which was taken at the Doge’s Palace in Venice, was printed from a 35mm negative in a 4” x 6” size. Check ’em out!
Here is the photo at 300 dpi:

Here is the photo at 600 dpi:
As you can probably see, there is no visible difference unless you zoom in on the images.
Now, let’s look at a 1” section of the two scans.
First, the 300 dpi scan:
Now, the 600 dpi scan:
 Depending on your screen size, you may begin to see some differences. Since this part of the photo measures about 1” wide on the original, if you are viewing it at a width of 4”, that is a magnification of 4x; other sizes scale accordingly.
Finally, let’s take a look at an even smaller piece of the photo – measuring about 0.4” across:
The 300 dpi scan:

Compare that with the 600 dpi scan:

Now, depending on the size of your screen, you may see some differences. If you’re seeing the images at a width of 4” or more, then the 300 dpi image shows some “pixelation” – it’s noticeable along diagonal edges. The 600 dpi image is still relatively “smooth.” At an image width of 4,” these last two images represent approximately a 10x magnification of the original photo – the equivalent of enlarging it to a 40” x 60” size. So – unless you are planning to enlarge your 4” x 6” photos to poster size, scanning at 300 dpi is sufficient for your needs!
![]()
Now that you understand DPI, you can tackle your family photo scanning projects like a pro! Bonus: you’re more likely to end up with beautiful new family heirlooms.
 About the Author: Frank Arnoth is a retired Senior Development Engineer who spent his career innovating at E. I. DuPont. His work for duPont entailed the design and development of a wide variety of specialized machines and processes. After retiring from duPont, he formed his own company, Design Solutions Inc., which carried out very similar functions for a variety of industrial clients. After closing that business and traveling, he decided to open a business based around his hobby – photography. That’s when he founded Digital Conversions LLC. Frank and his team provide a complete suite of scanning services for photographic materials, including slides of all sizes, negatives (including disc film), photographic prints and albums. The goal of the business is to providing scanning services that are both affordable, and high-quality, with resolution levels that are among the best in the industry. The business also provides photo restoration and retouching services.


4 Comments
Hilarie says:
September 9, 2016 at 8:51 pm
Great article- thank you for the Very helpful information in easy-to-understand terms!
Karen Davis says:
September 20, 2016 at 1:18 am
I recently scanned old family pictures. Not knowing what i was doing, i decided to scan at 1200 dpi.
Cheryl says:
September 25, 2016 at 2:36 am
Ive wanted To scan my pHoto’s & slides for years but id like yo do it myself. I just do not know which scanner to buy! I’ve looked into them, but still dont know how to choose one. Can you help?
Rachel LaCour Niesen says:
September 28, 2016 at 6:52 pm
Hi Cheryl,
We are happy to hear that you are working on scanning your family photos and slides! A lot of folk we know really like this one — http://flip-pal.com — although it may not scan slides? Which ones have you tried, or considered?